How Your Pen Was Made
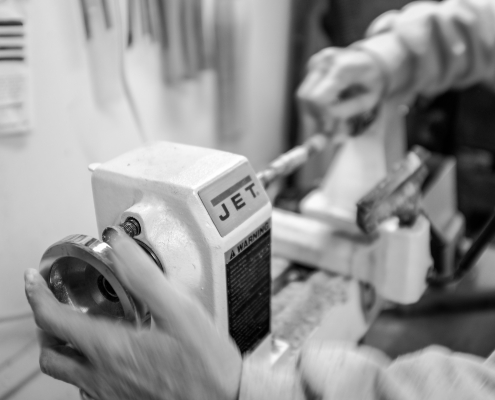
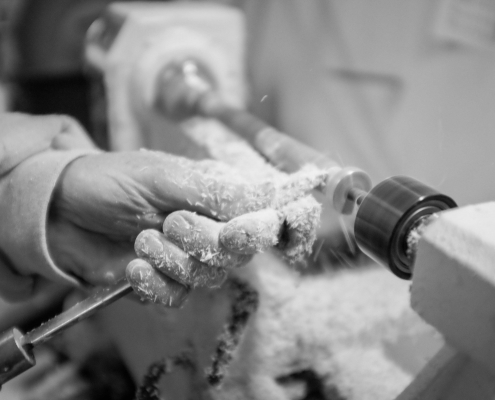
The first step in constructing the pen is selecting material for the pen body and a pen style and hardware finish that compliments the design. Next the material is cut to size for the pen. For some materials this includes cutting to the correct diameter in addition to length. The sized pen “blanks” are now drilled to a diameter which will accept a brass tube. The brass tubes are sanded lightly to ensure a durable bond and are then glued with glue or epoxy into the blank. Depending on the material used for the pen, at times the tubes must be painted prior to gluing them in. The blanks must then rest for the glue to cure. When the glue has cured, the ends of the blanks are then milled to guarantee they are square and perpendicular to the tubes, and the inside of the tubes cleaned of any glue residue. The blanks are then mounted on a mandrel with bushings sized for the pen being made. The blanks and mandrel are then mounted on the lathe and turned using various tools to the proper diameter (the diameter of the bushings).
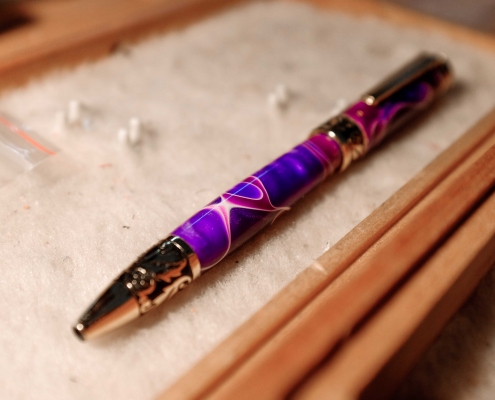
The final steps for finishing vary depending on the material used for the pen, but most blanks are sanded with progressively finer grits -except inlay blanks. Sanding of inlay blanks will result in sanding dust from the various color woods carrying over into other parts of the design, muddying the appearance. Inlay blanks must be turned to a very smooth surface prior to finishing. Once the surface is satisfactory it is cleaned of any dust and multiple coats of finish are applied. With most finishes there are an additional 9 steps of polishing with successively finer grades of micro mesh. These are the same products used to polish aircraft windshields. Final steps include buffing with compounds and two separate buffing wheels and then a coat of museum quality wax.


